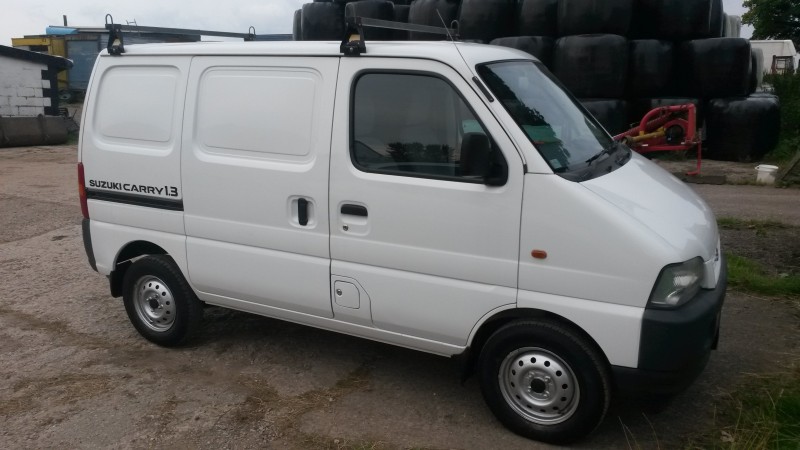
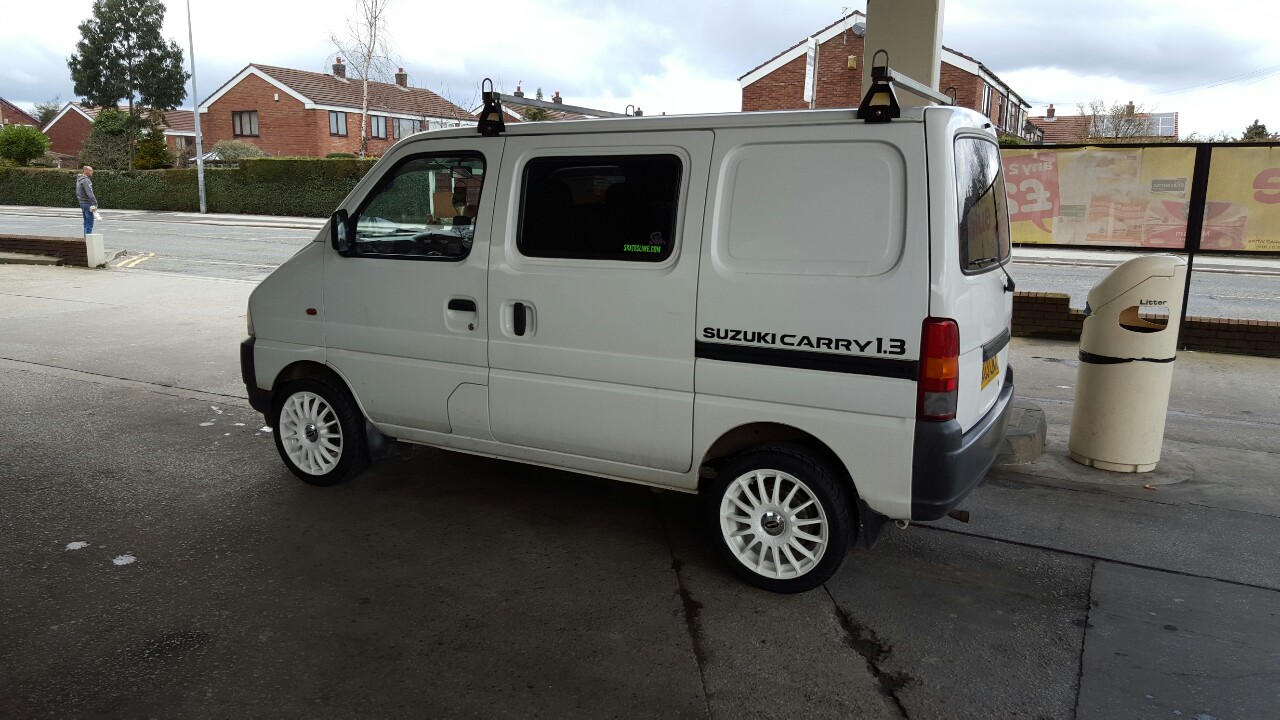
In early September 2015 I bought a Suzuki Carry 1.3 van. This is it’s transformation into a small camper van, and a record of the other customisations I’ve made in the process.
Update 2019: I’ve written a Suzuki Carry FAQ, check that out if you have questions. 🤙
This project has been something I’ve wanted to do for a long time, I had a lot of plans in mind. The first step was buying the van itself. I found the van on gumtree for a very good price and only 47,000 miles on the clock. It’s previous owner was a decorator so it was in very good condition.
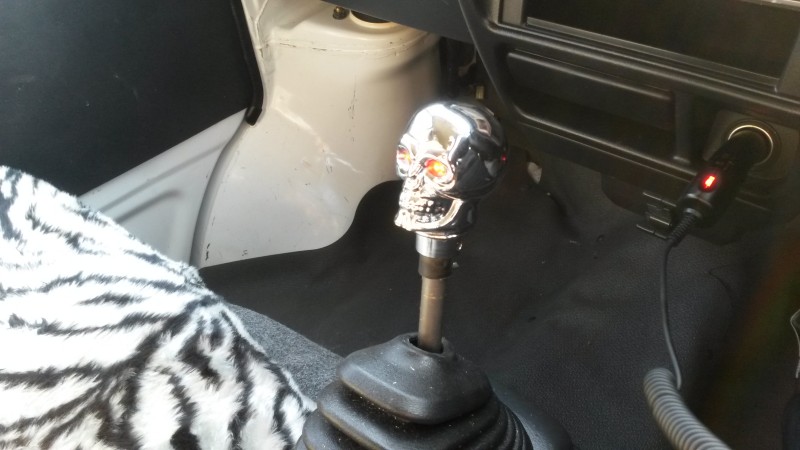
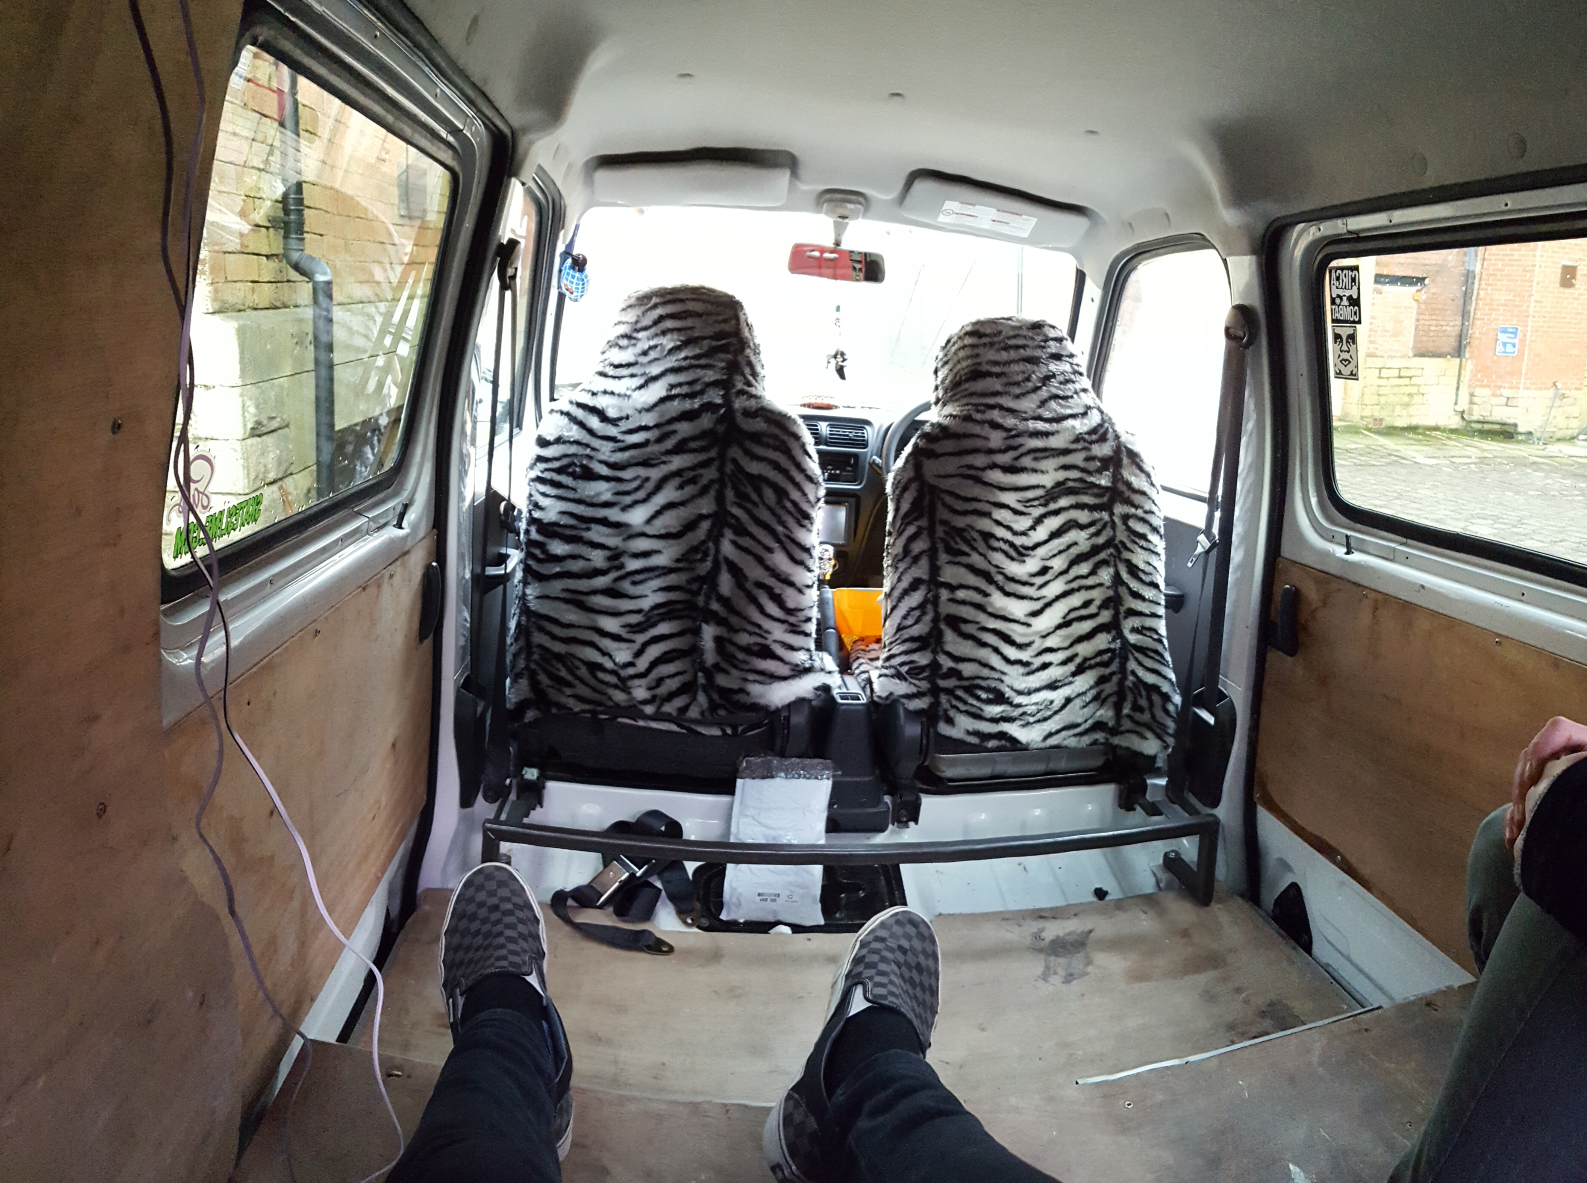
I got the vehicle looked over by a mechanic, who gave it a thorough check and coated the underside in waxoyl. While it was with the mechanic I ordered in white tiger seat covers and a chrome skull gear stick with LED glowing eyes, because that’s just how I roll.
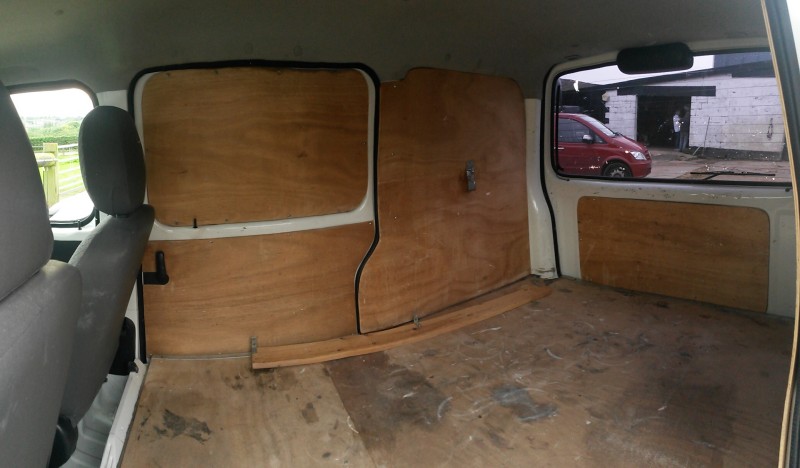
I saw online that other people with the same vehicle had windows added into the side doors. These were made and supplied by an aftermarket manufacturer in Germany. I had a lot of help with the more difficult stuff like this, but we got there in the end.
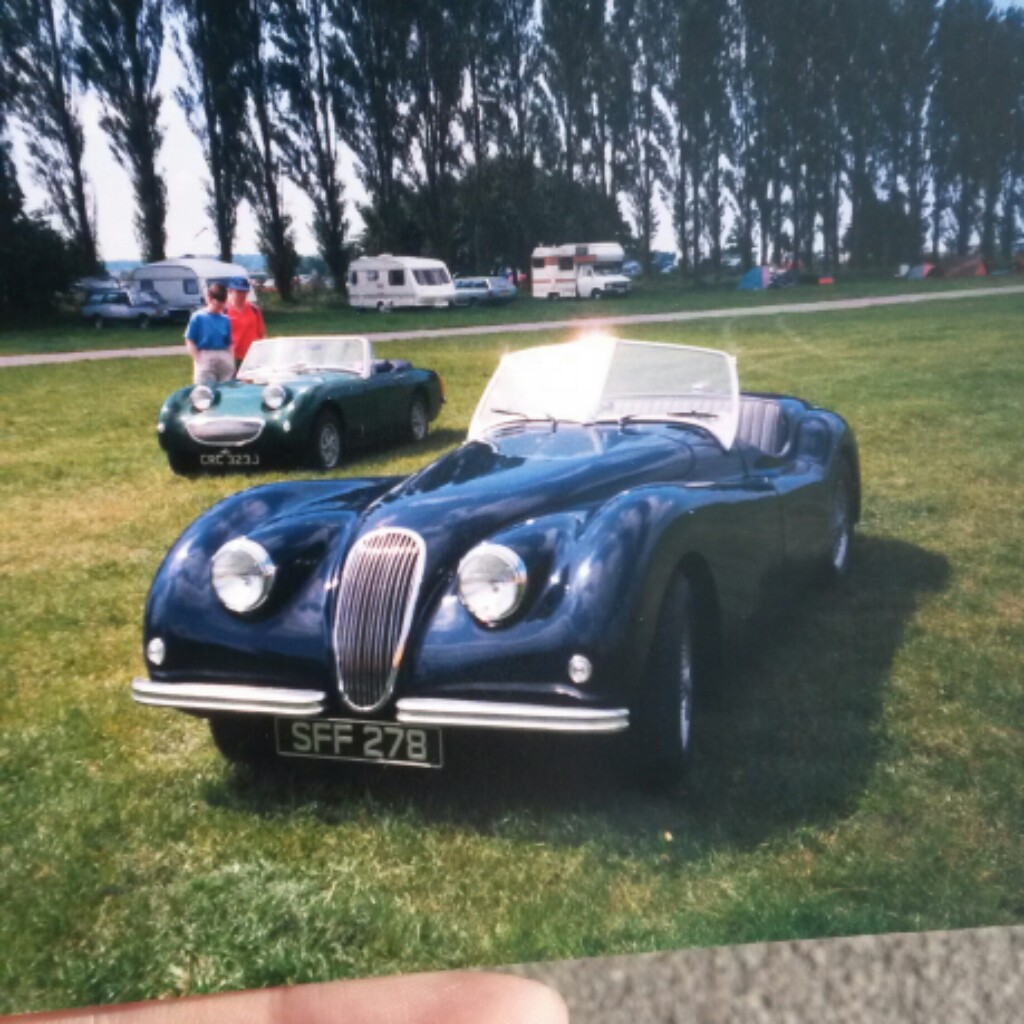
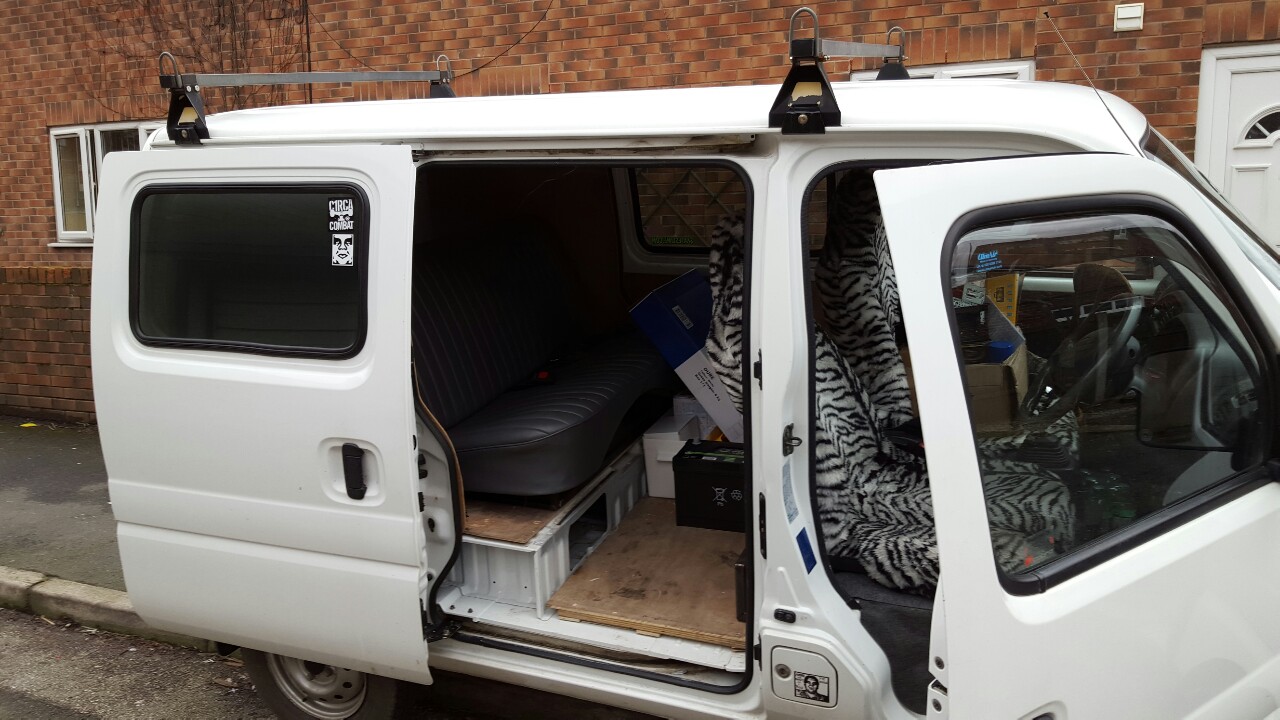
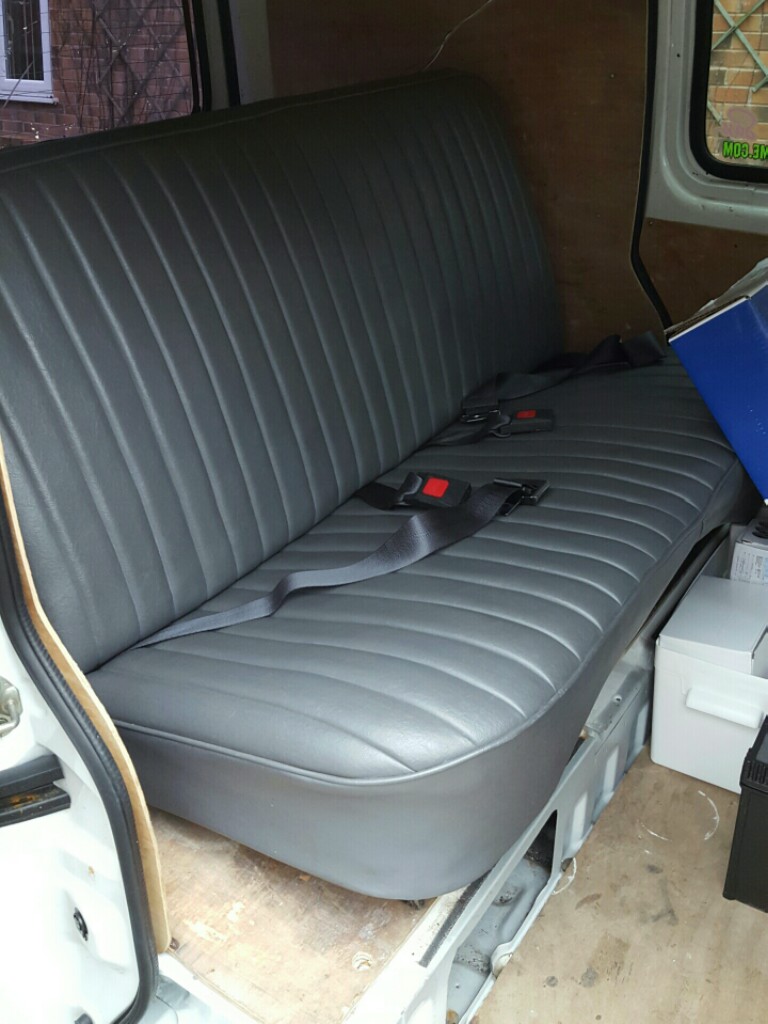
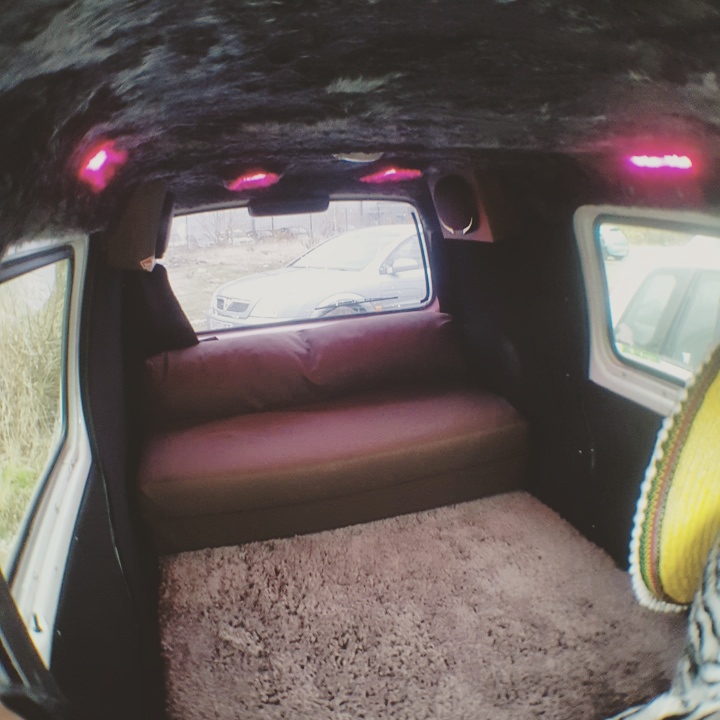
Since the van only has two front seats, I wanted to have the option of putting in a rear passenger seat. I found an old leather bench seat on eBay that was previously in a classic Jaguar. It was only going for £30 and the width was a perfect fit, when I went to pick it up, the seller also brought with him a photo of the original Jaguar the seat came from!
The seat was fitted into the van with bolts and seatbelts, the front section of the floor drops down to create a foot-well.
Another aftermarket manufacturer still makes wind deflectors to fit, these were also fairly cheap too.
I got some of the electronics done fairly early on:
-
The front speakers were replaced with some brand new pioneers, a huge improvement as the old ones were made from cardboard…
-
A cobra alarm system was added with remote locking, sonic movement sensors and an immobiliser for the ignition.
-
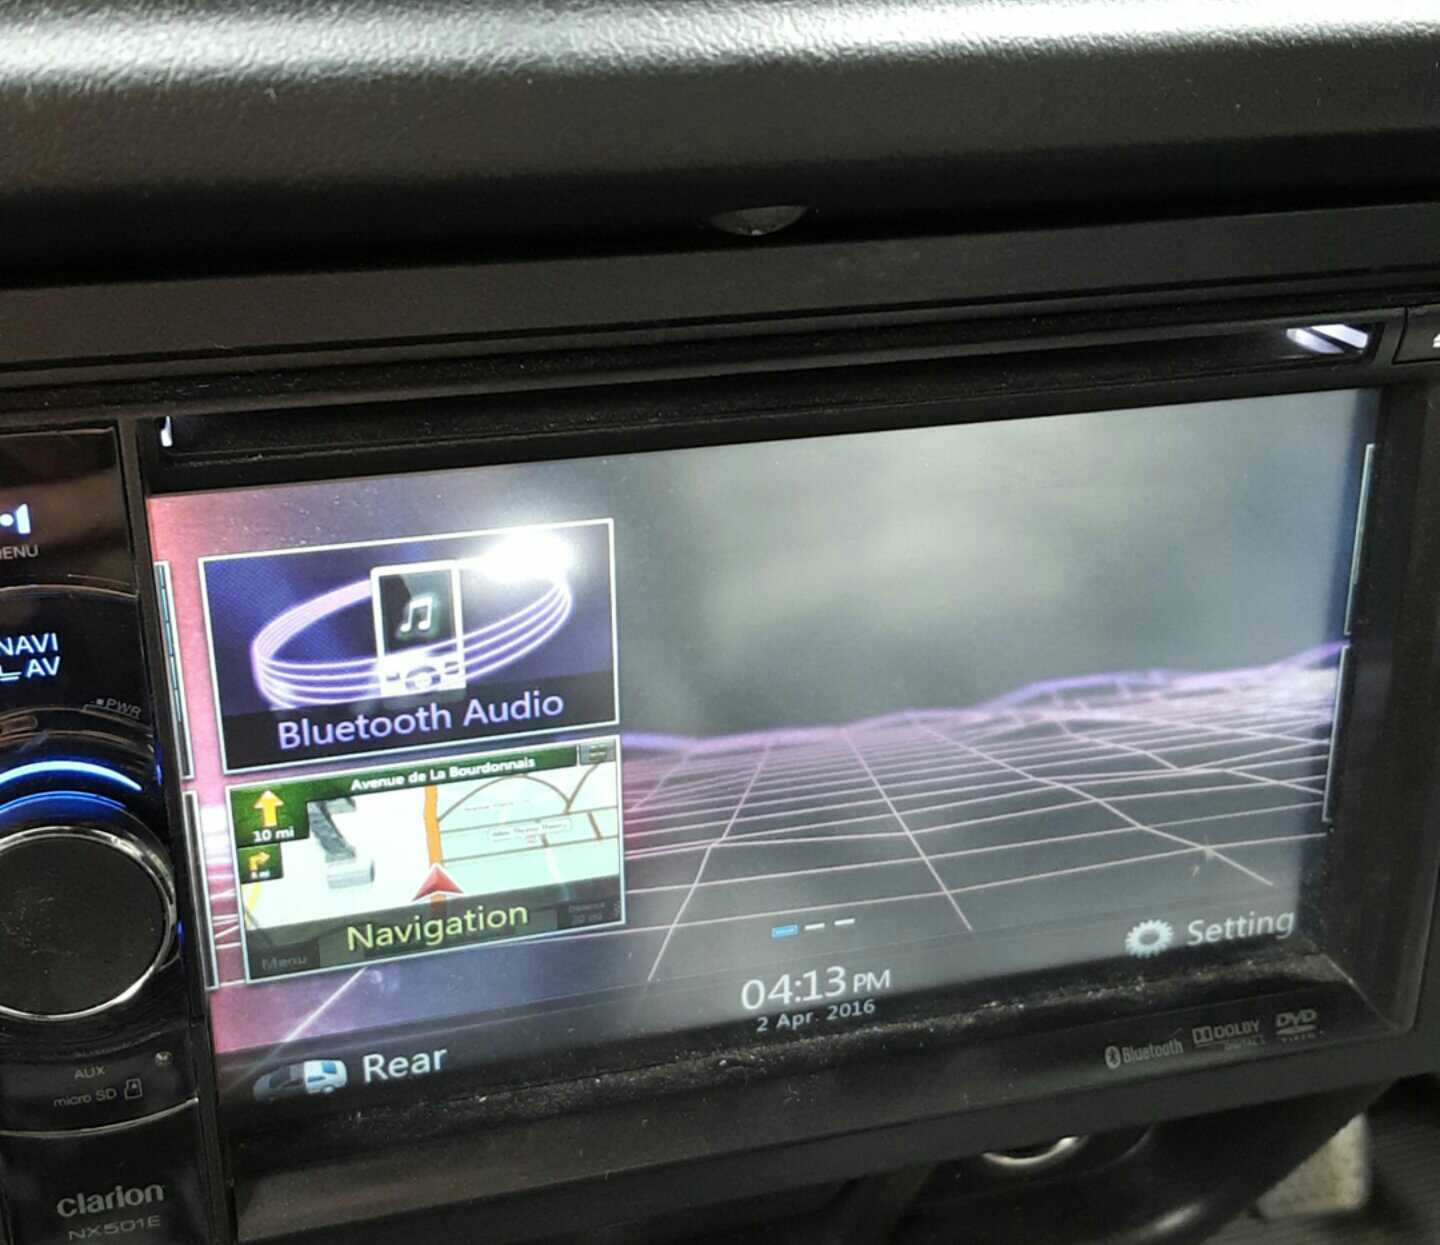
I bought a clarion double din stereo second hand with Europe sat nav and Bluetooth audio (plus a bunch of other stuff)
The alloys I found are white, team dynamics, fairly expensive but I think they look super cool and they match the van nicely.
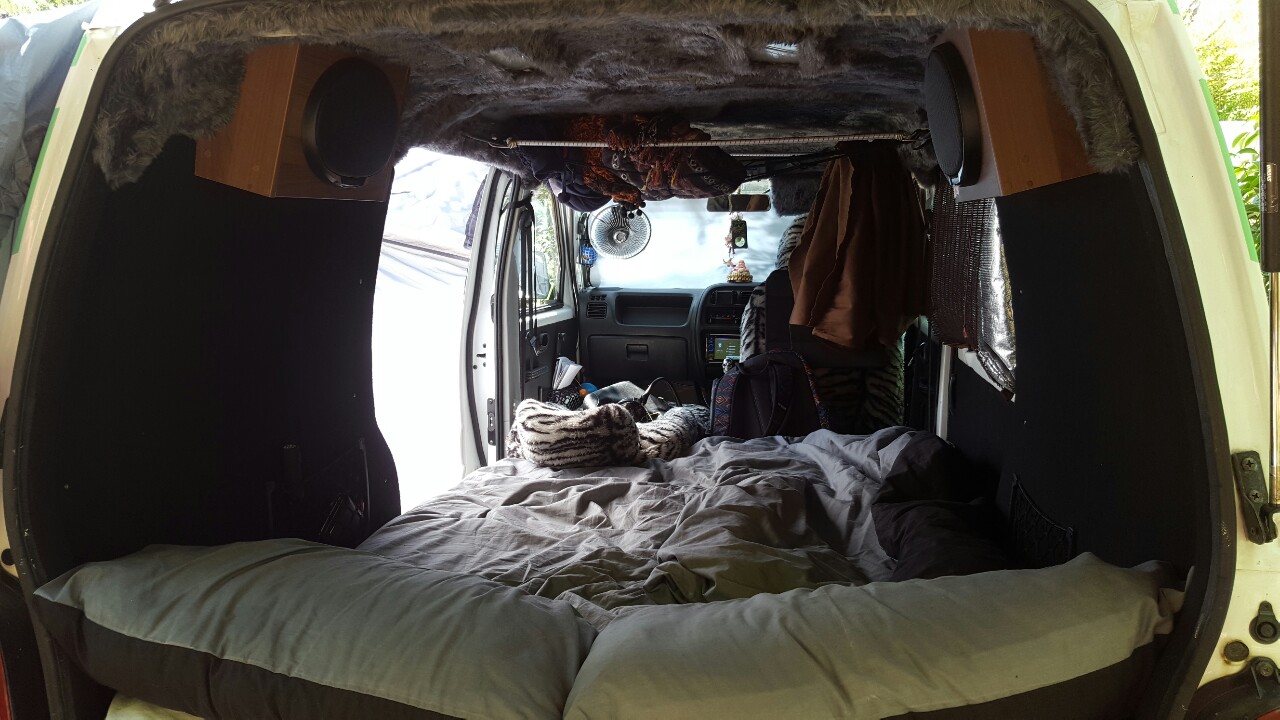
The bed was recommended by someone on a forum, it’s a perfect fit both width and length, which I was super pleased with.
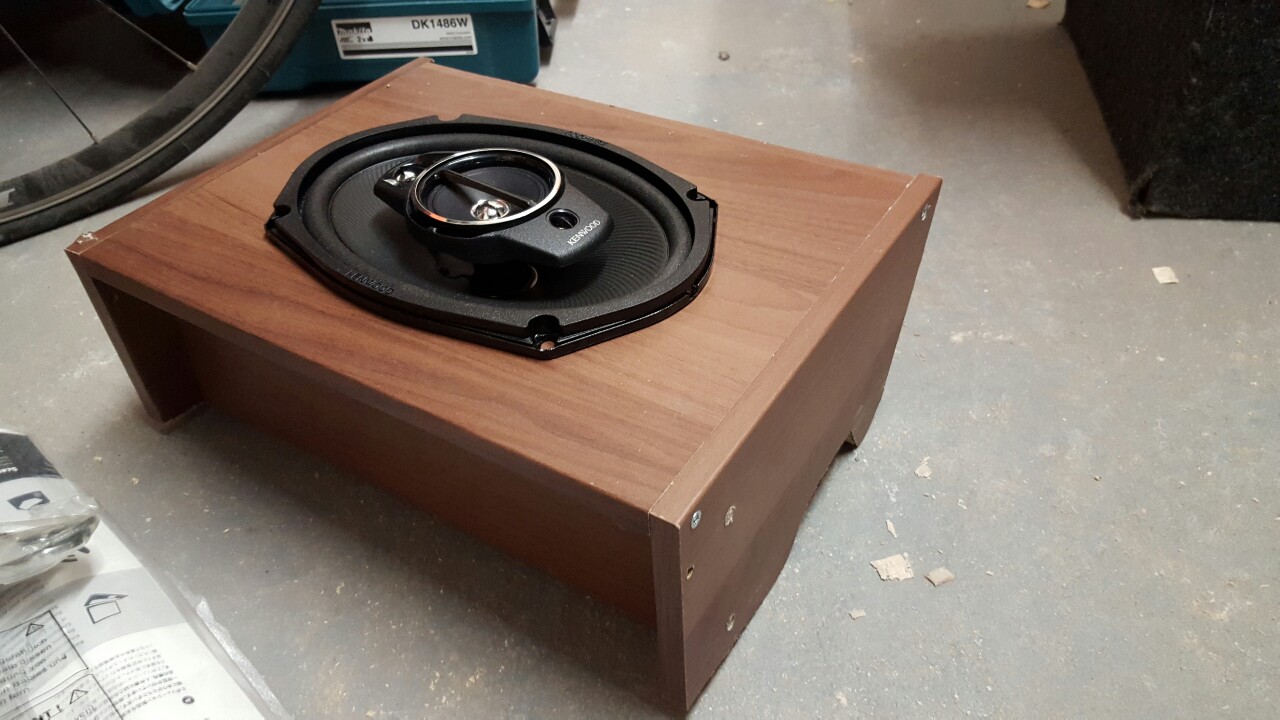
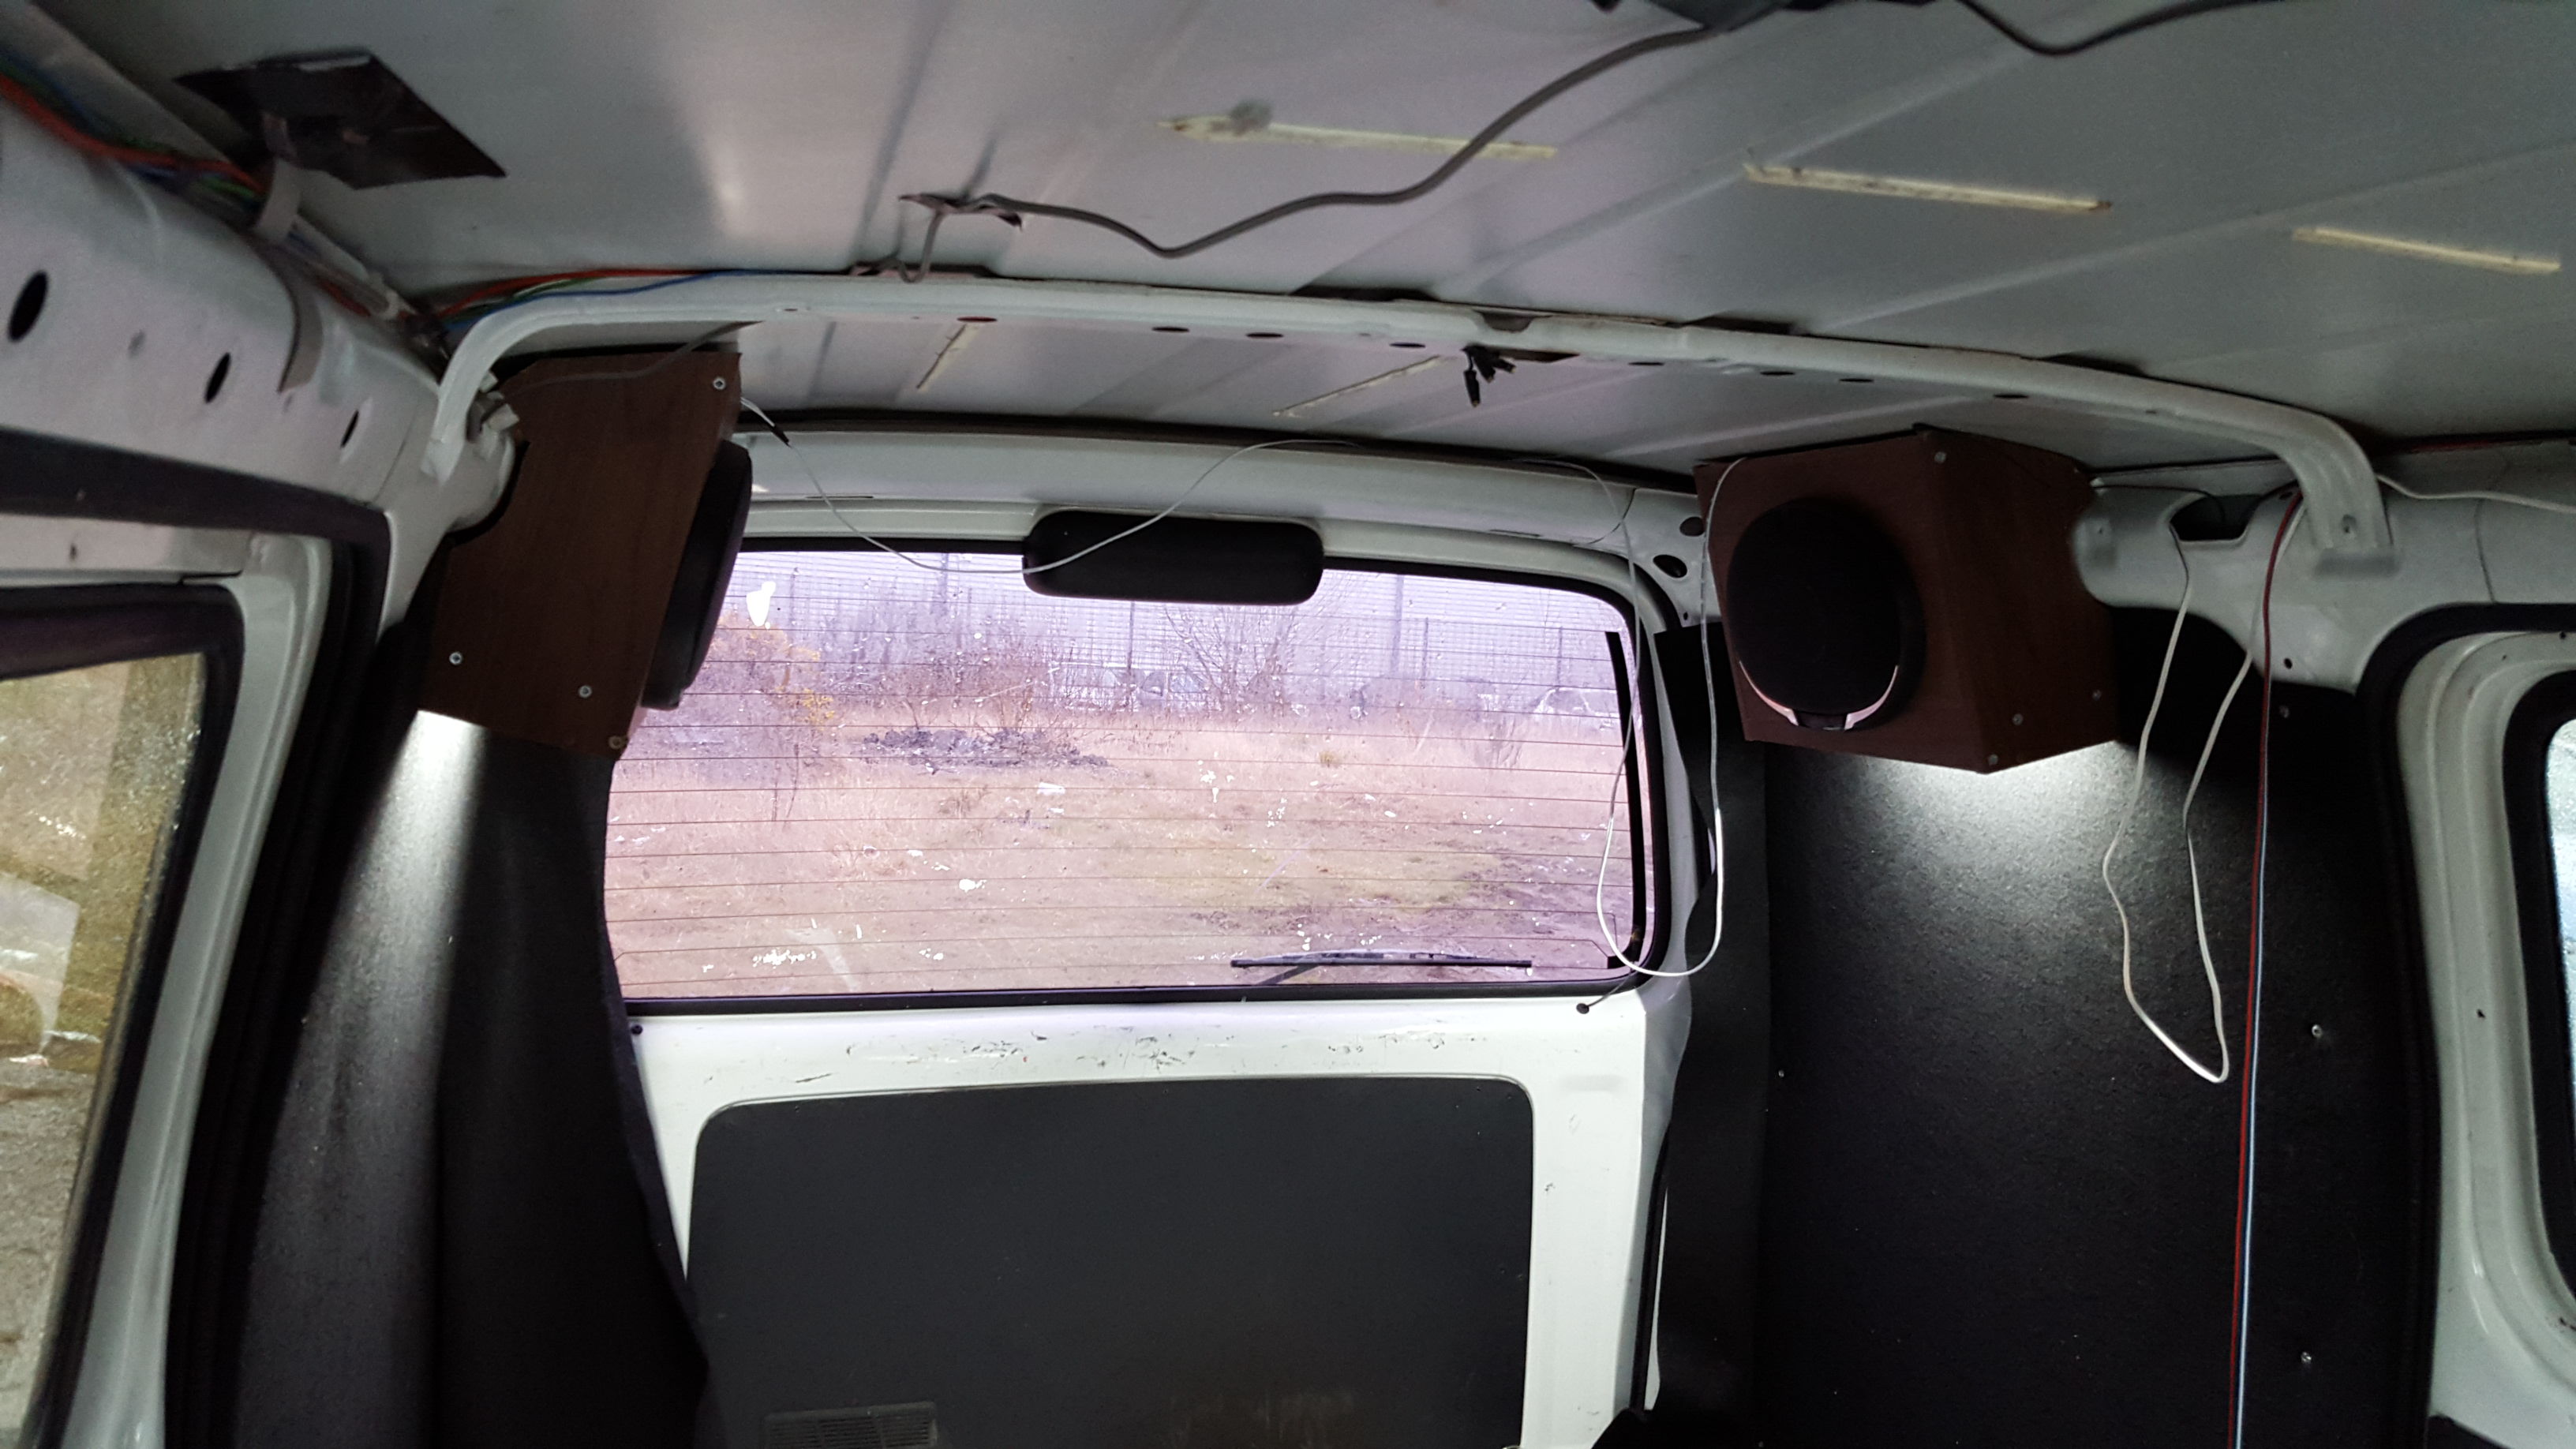
I built some speaker boxes to house two Kenwood 9” speakers in the back of the van. Making and fitting these to the van was one of the hardest jobs of the project.
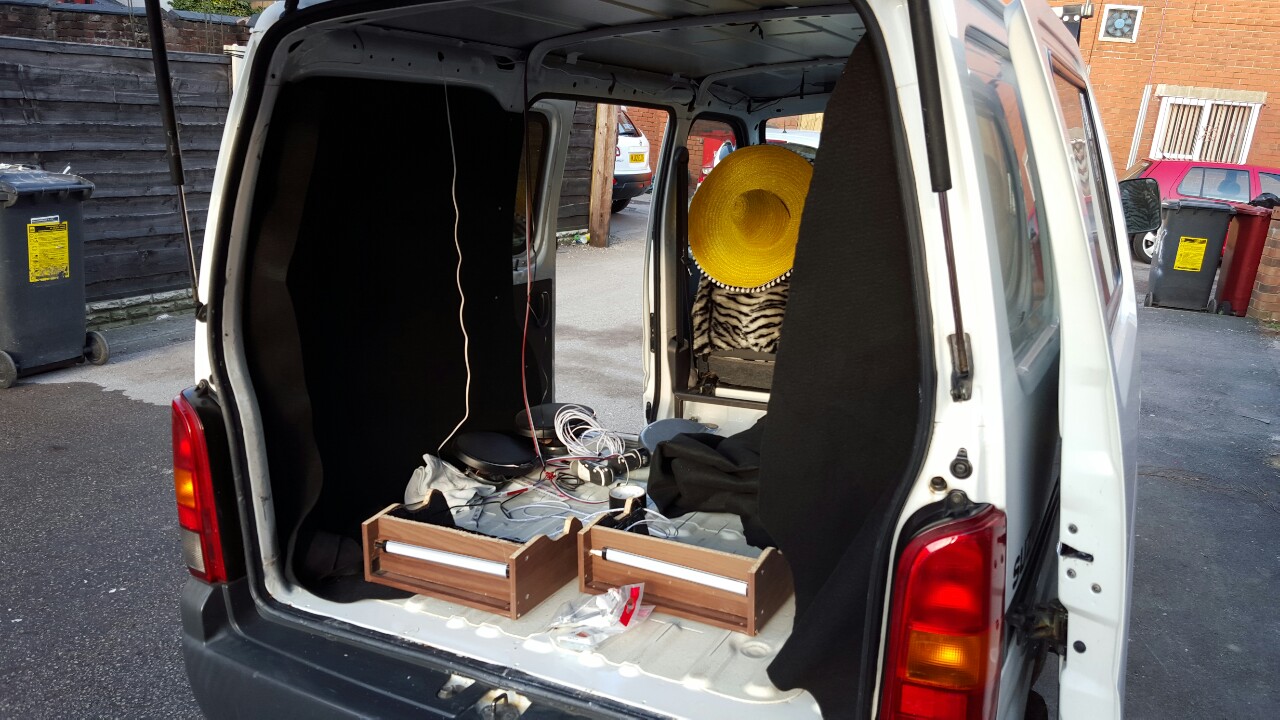
Below the speaker boxes I fitted a white LED light bar.
We covered all the plywood panels in a black, hard-wearing vehicle lining.
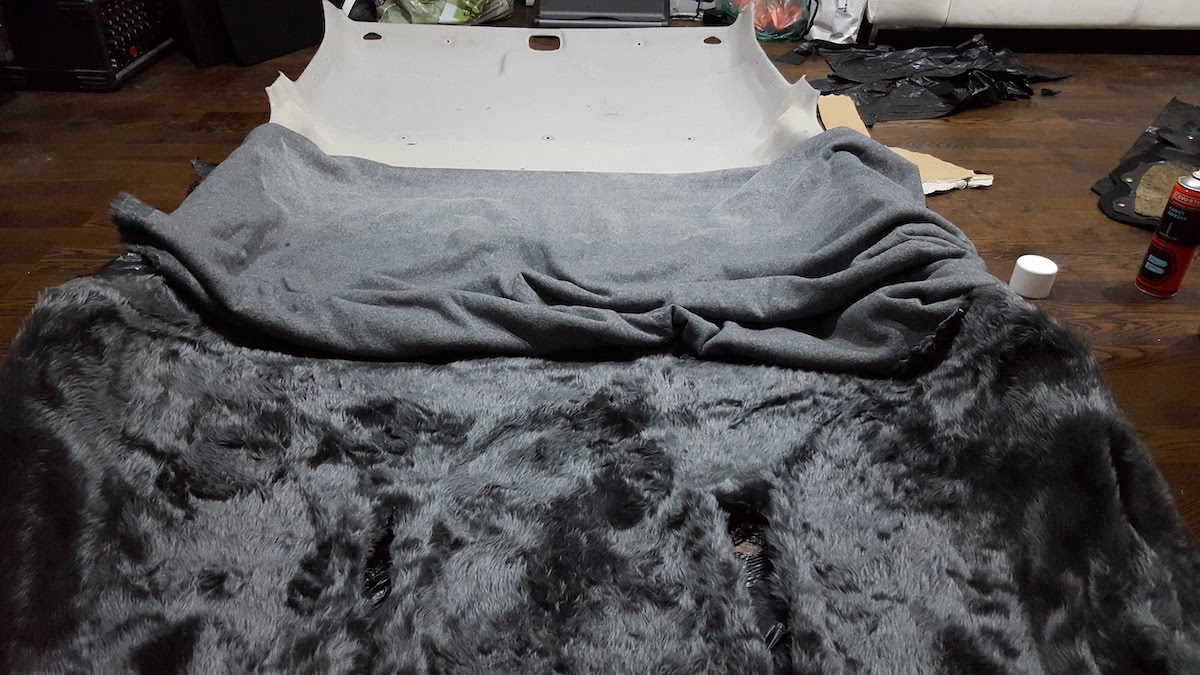
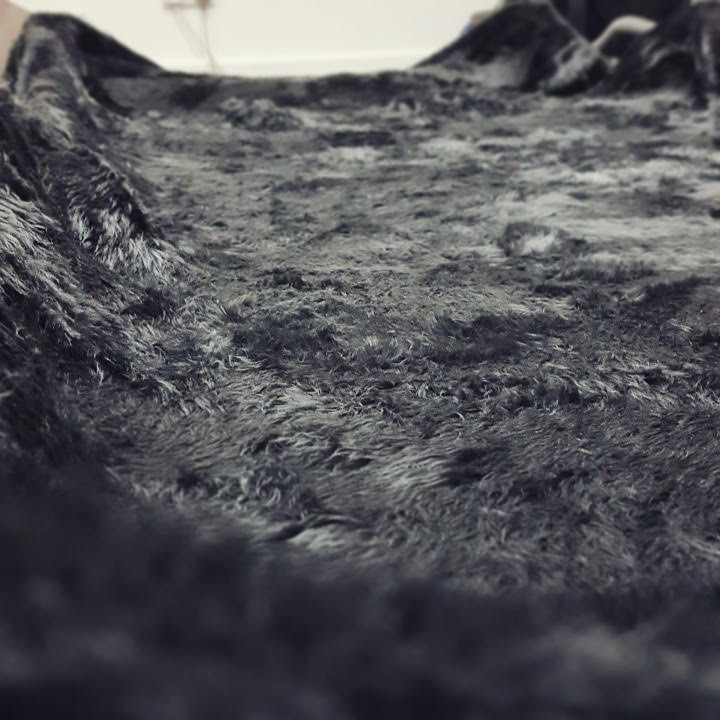
We covered the roof lining in gray fur, attached with fabric glue.
I cut four rectangular holes in the fur roof lining and cut some frosted perspex to fit. I then fixed in 8 rows of three rgb LED lights to the roof of the van and two just above each sliding door.
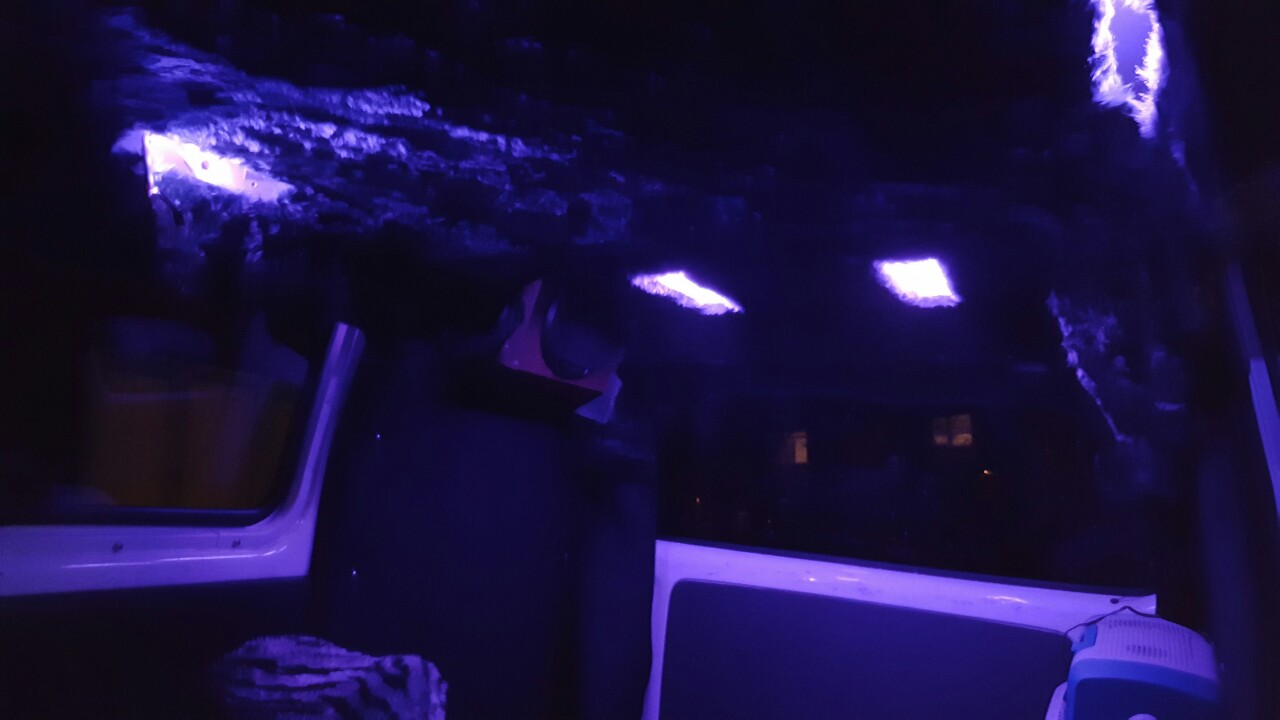

I bought a rgb receiver unit that works with a remote, which let me change the lights to any colour.
Under the bonnet I had a 100amp leisure battery fitted which is used to power the lights, 12v cig chargers and stereo. I had a steel frame made and bolted into place to make sure it’s secure while driving.
The wiring for the lights and stereo all runs to a central fuse box which is powered by the leisure battery. The leisure battery is wired to the main car battery via a box which cuts off the connection while the engine is not running. This lets it charge while driving but doesn’t drain the main car battery while we’re using power.
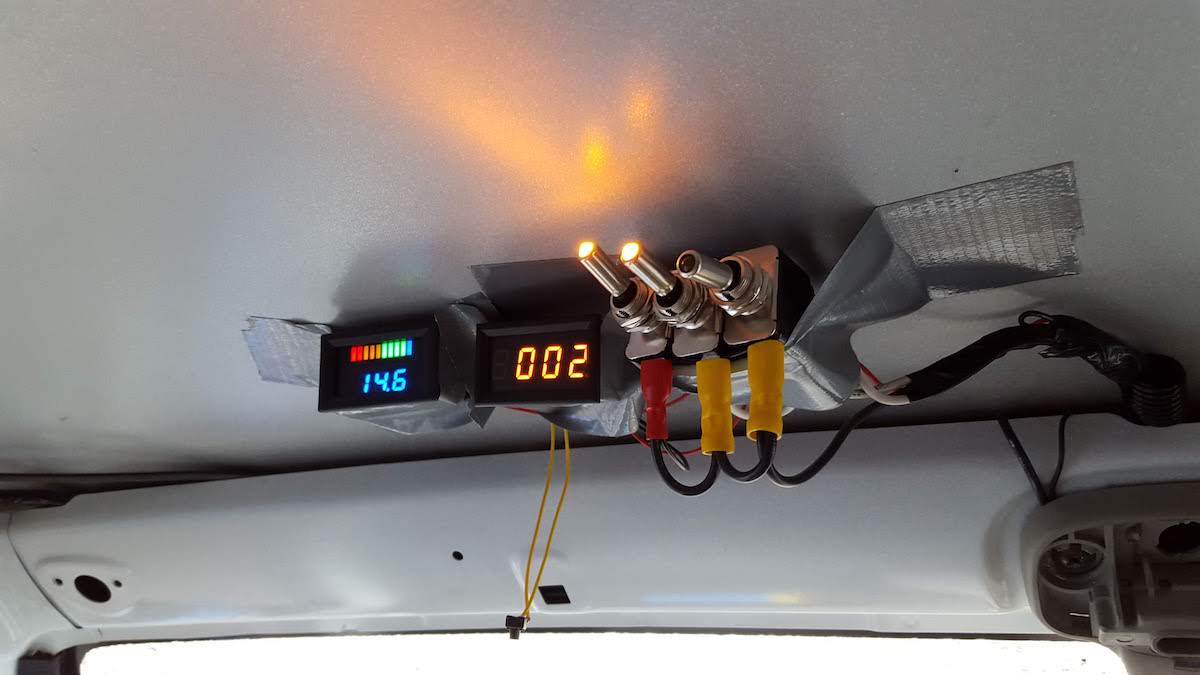
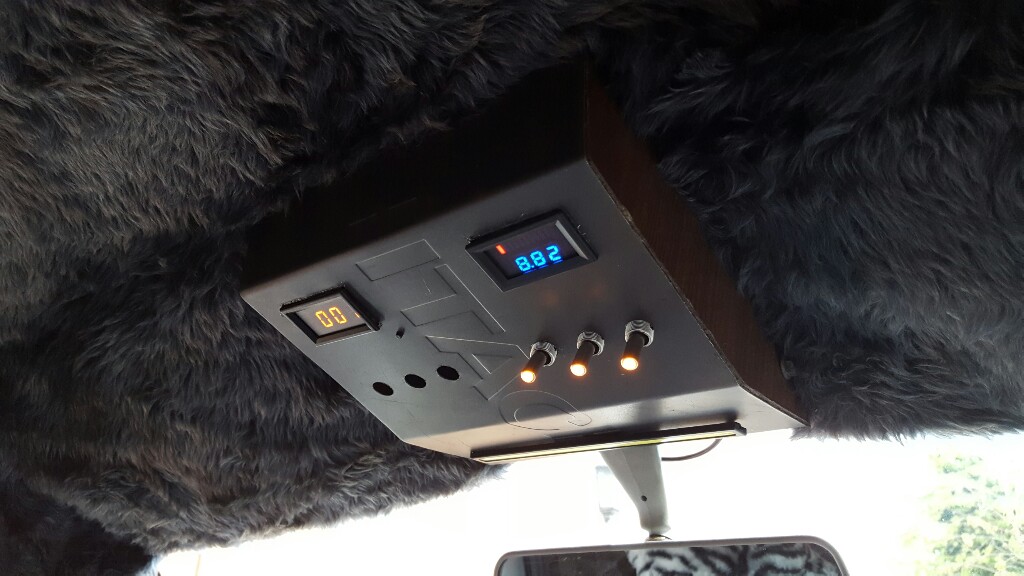
The box that we mounted the switches in is made from an old Hitachi VCR player case. I also fitted a little clock and a volt metre, giving it the back to the future vibe.
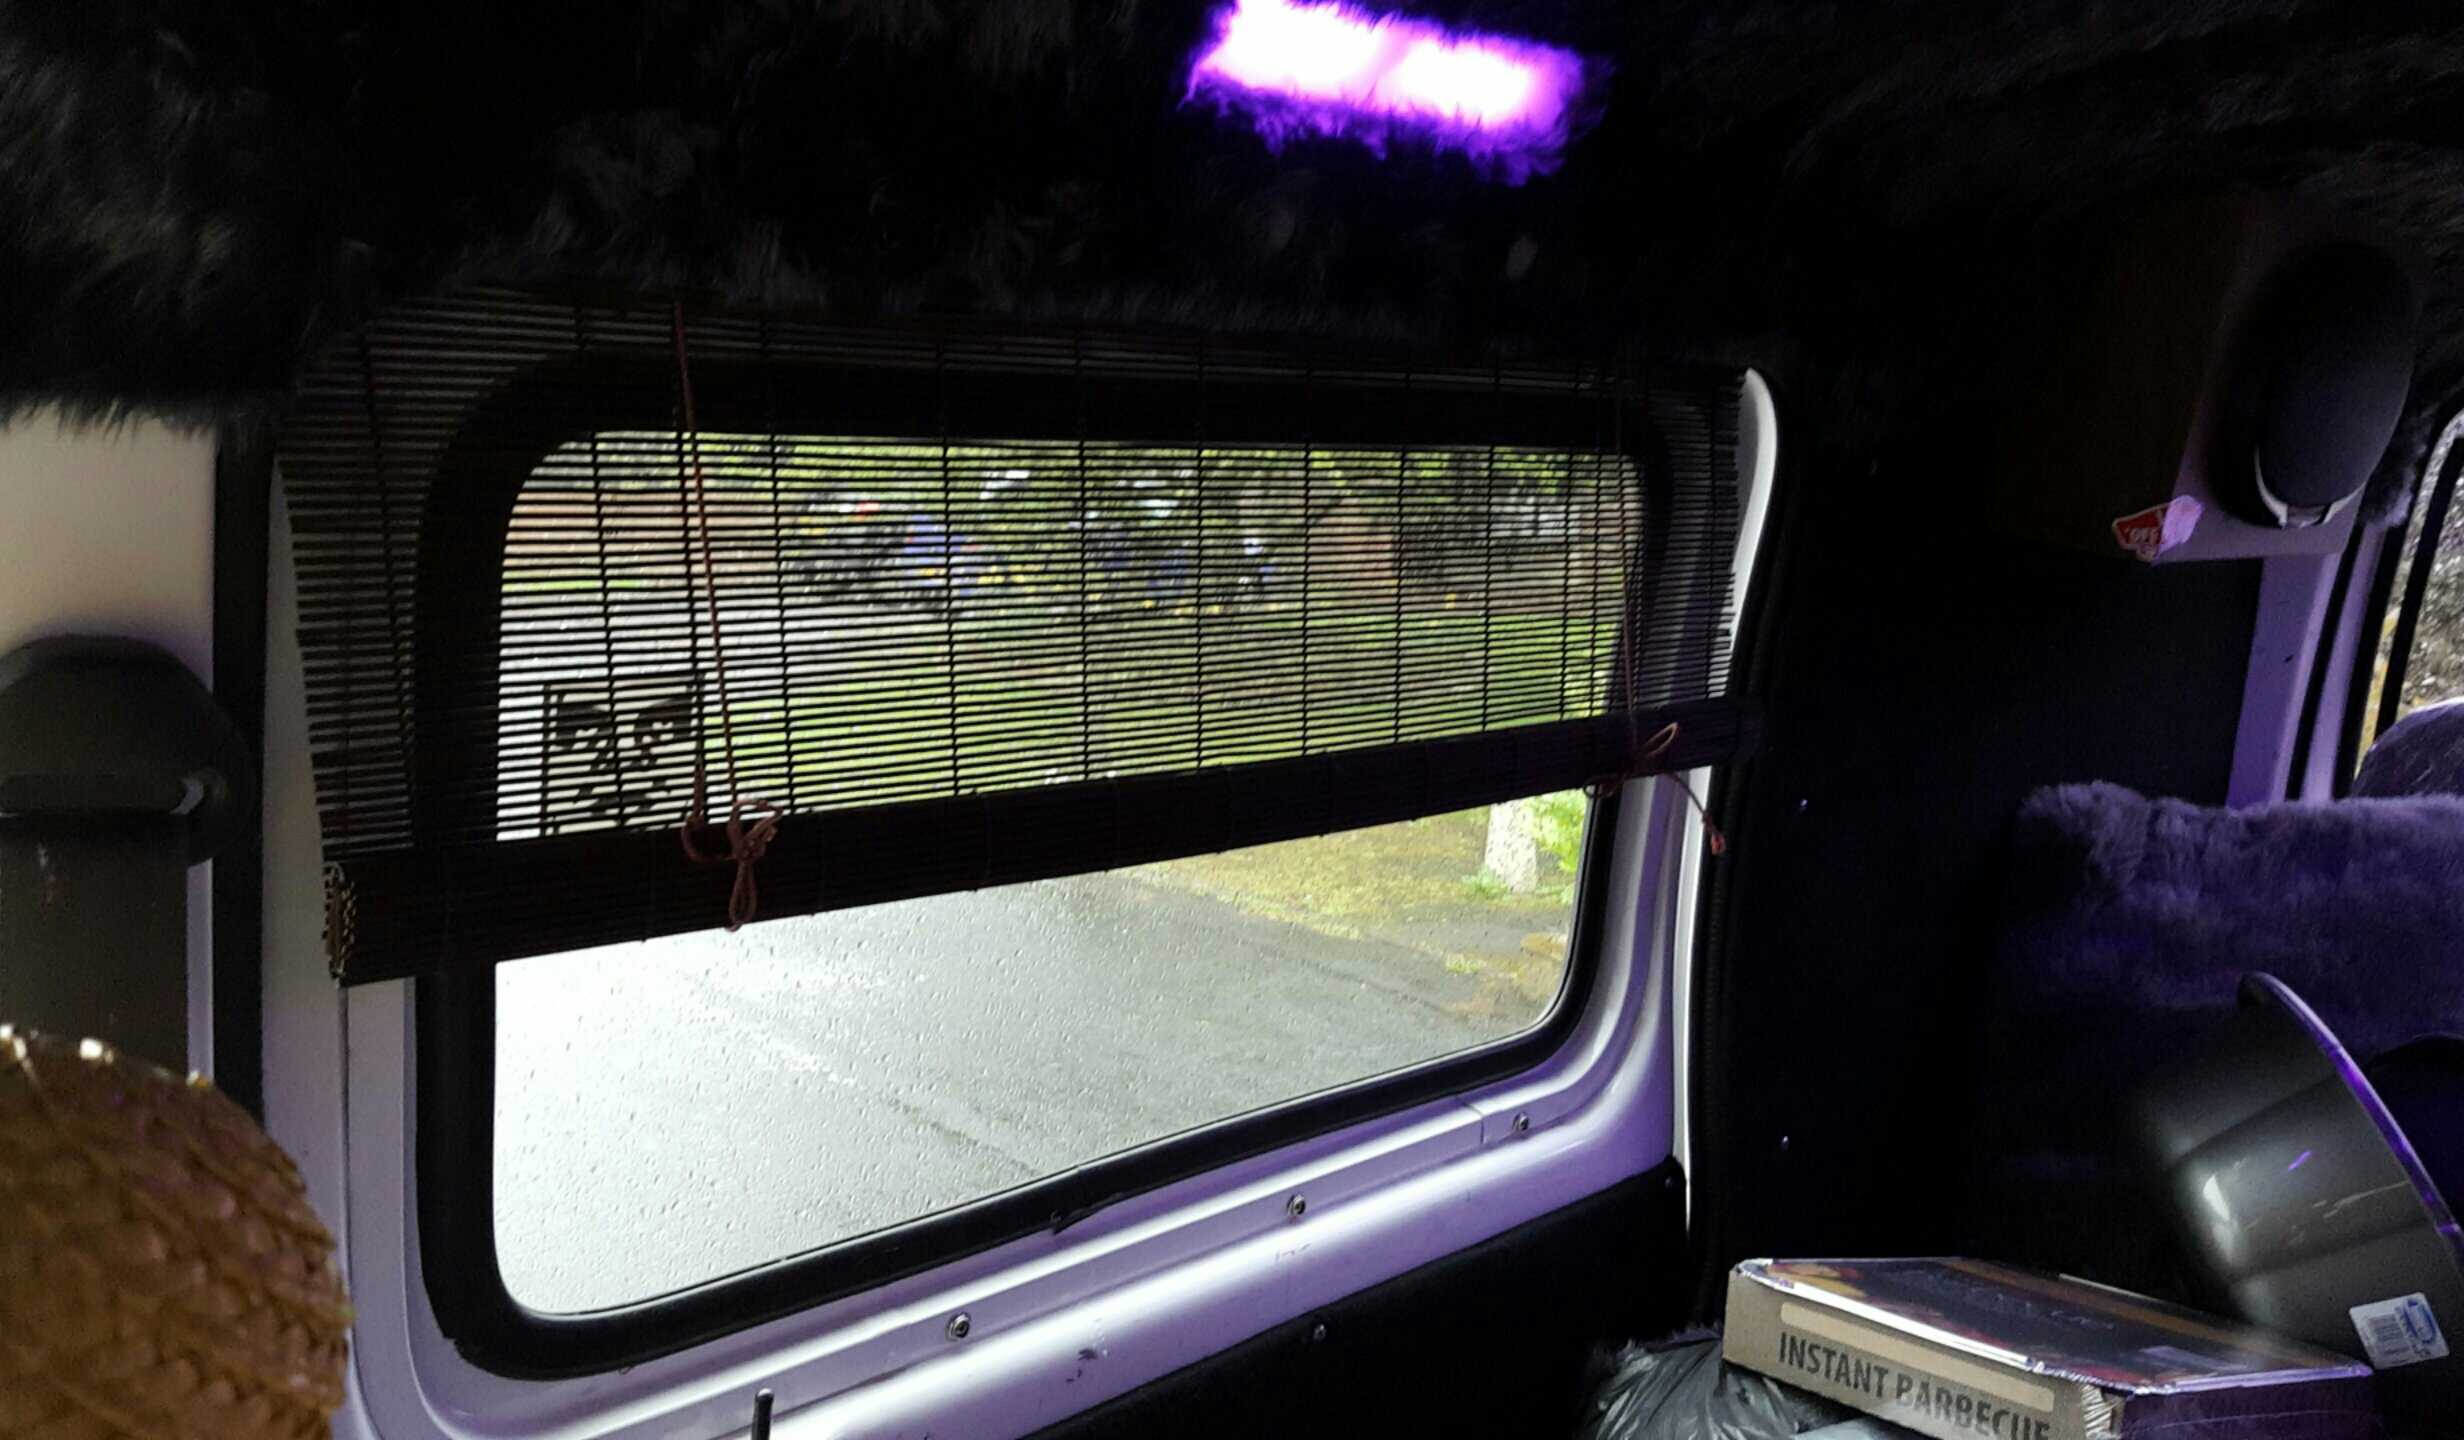
We cut the blinds to fit the windows and had a small piece of fabric sewed to the top and bottom. The blinds are attached to the door with Velcro at the top and silver popper buttons at the bottom.
I saw a good idea online to save some space, using an elastic cargo net suspended in the roof. Two metal bars were fitted into the screw thread, where the support handles would have been in the people carrier version of the van. This way they’re really strong and can support quite a bit of weight.
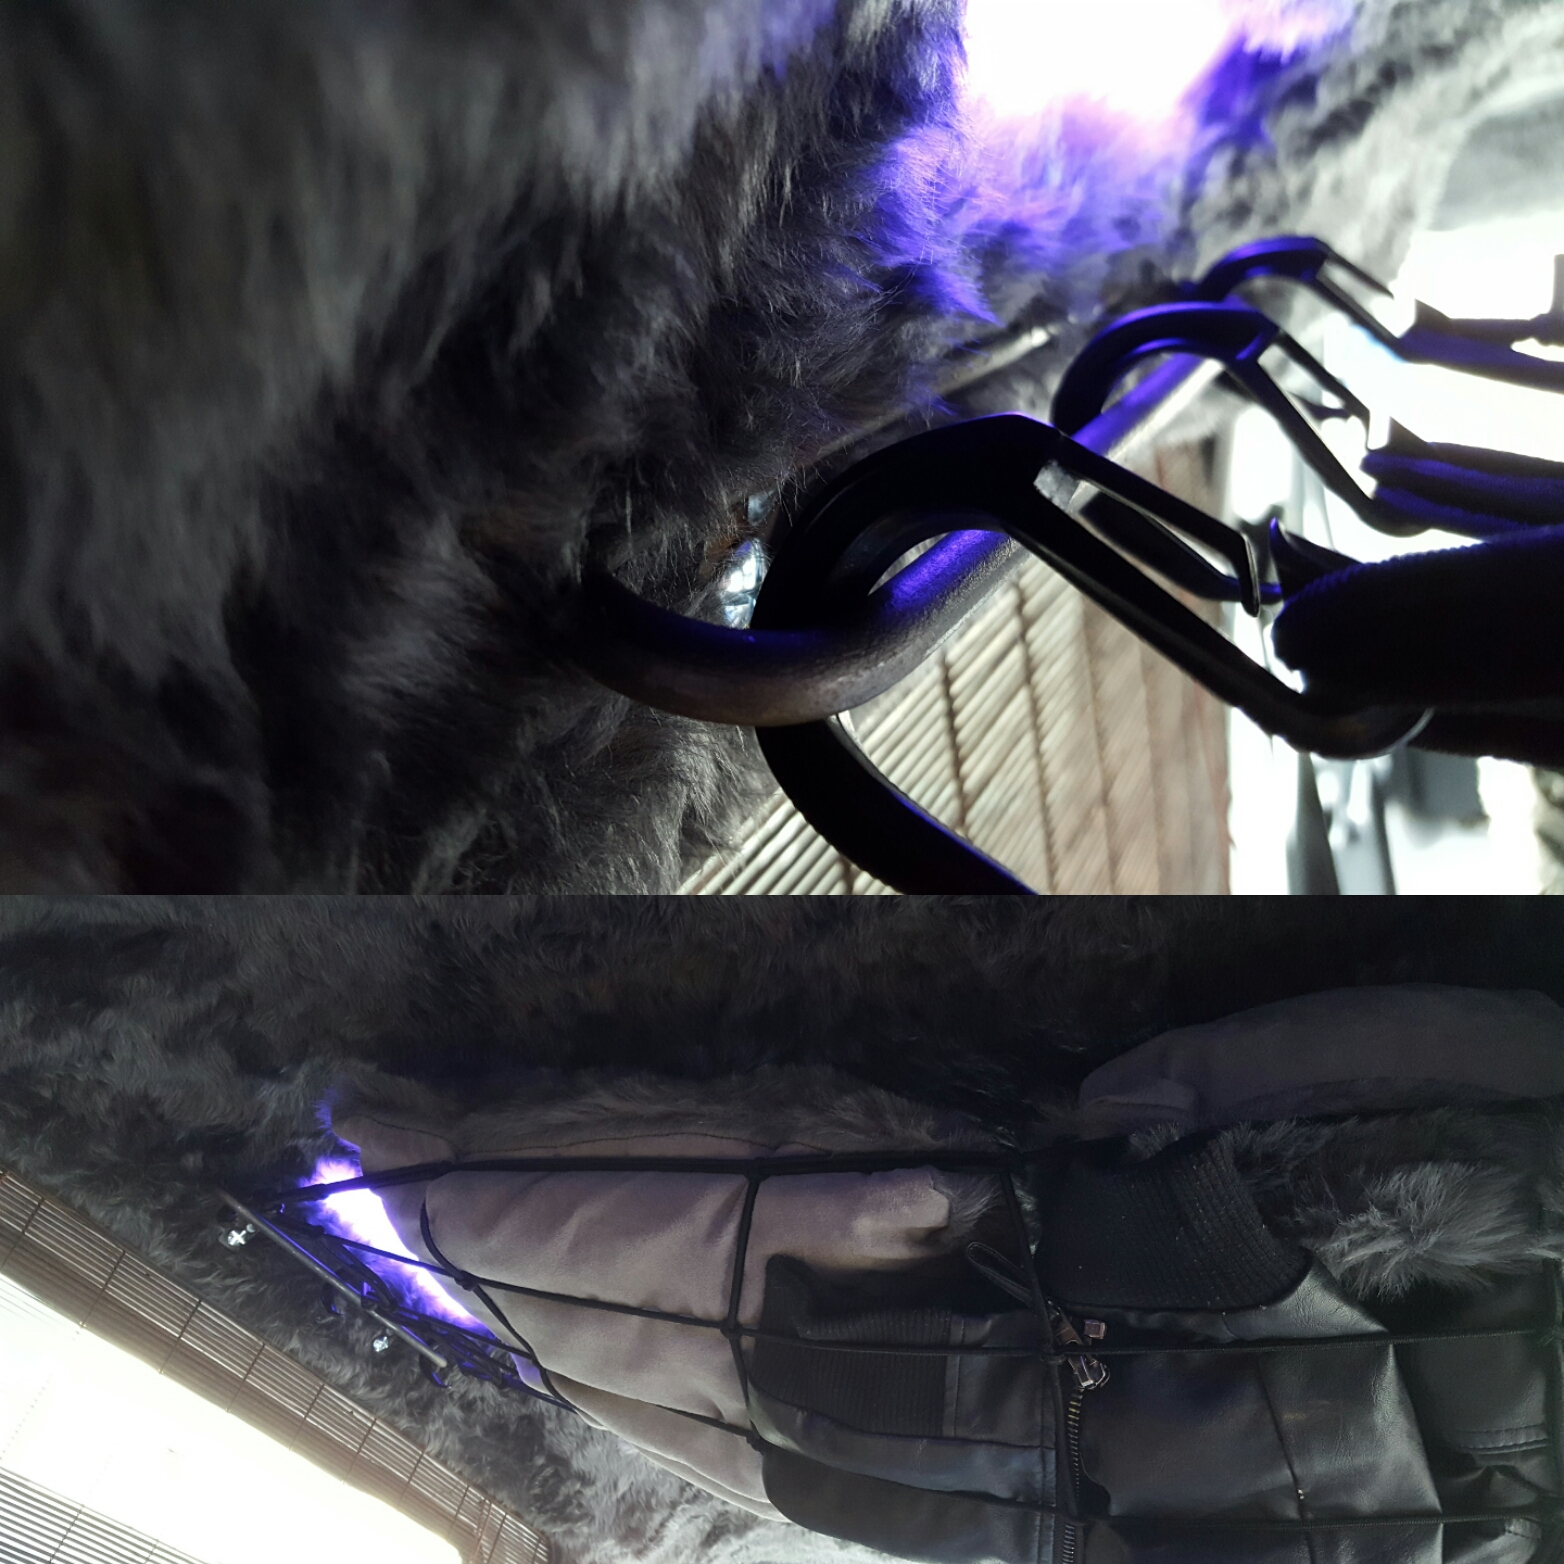
We did the same thing further forward with a bungee cord, to create a curtain rail to separate the front cab from the back of the van while camping.
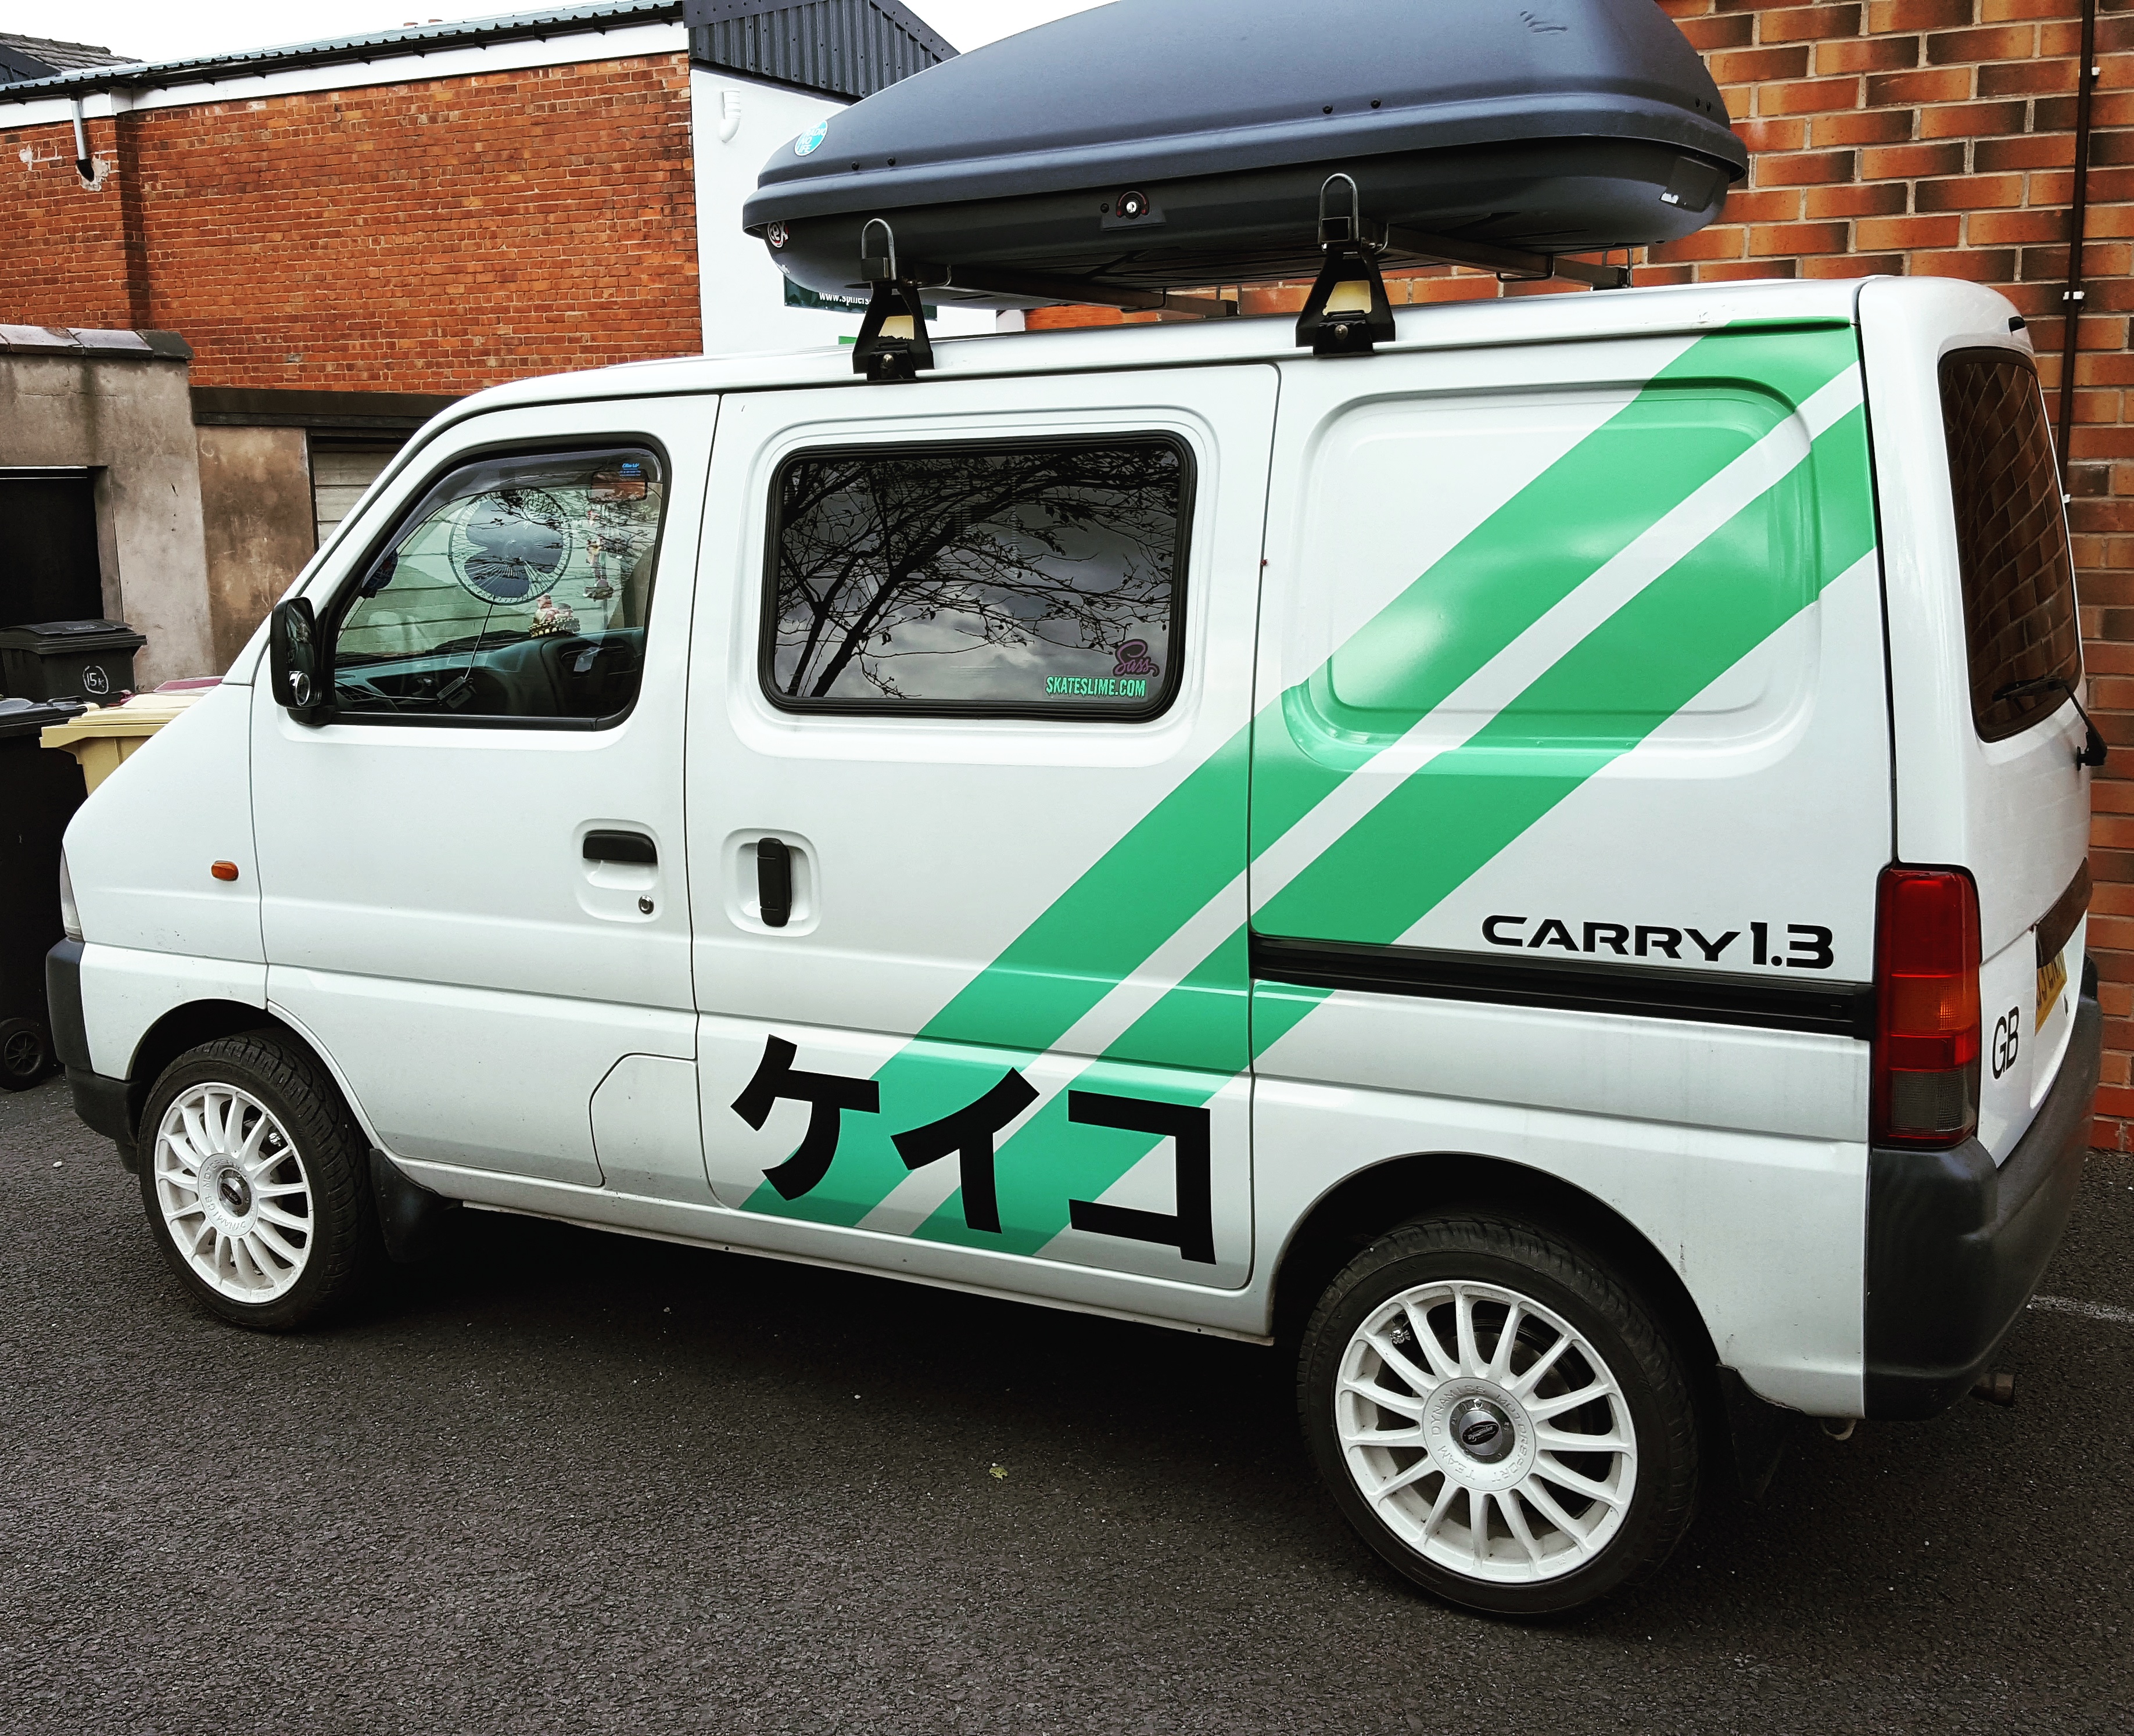
One of the last things to be done was the vinyl graphics. I mocked up a load of different designs on Photoshop, but ended up going with the fairly simple blue/green stripes.
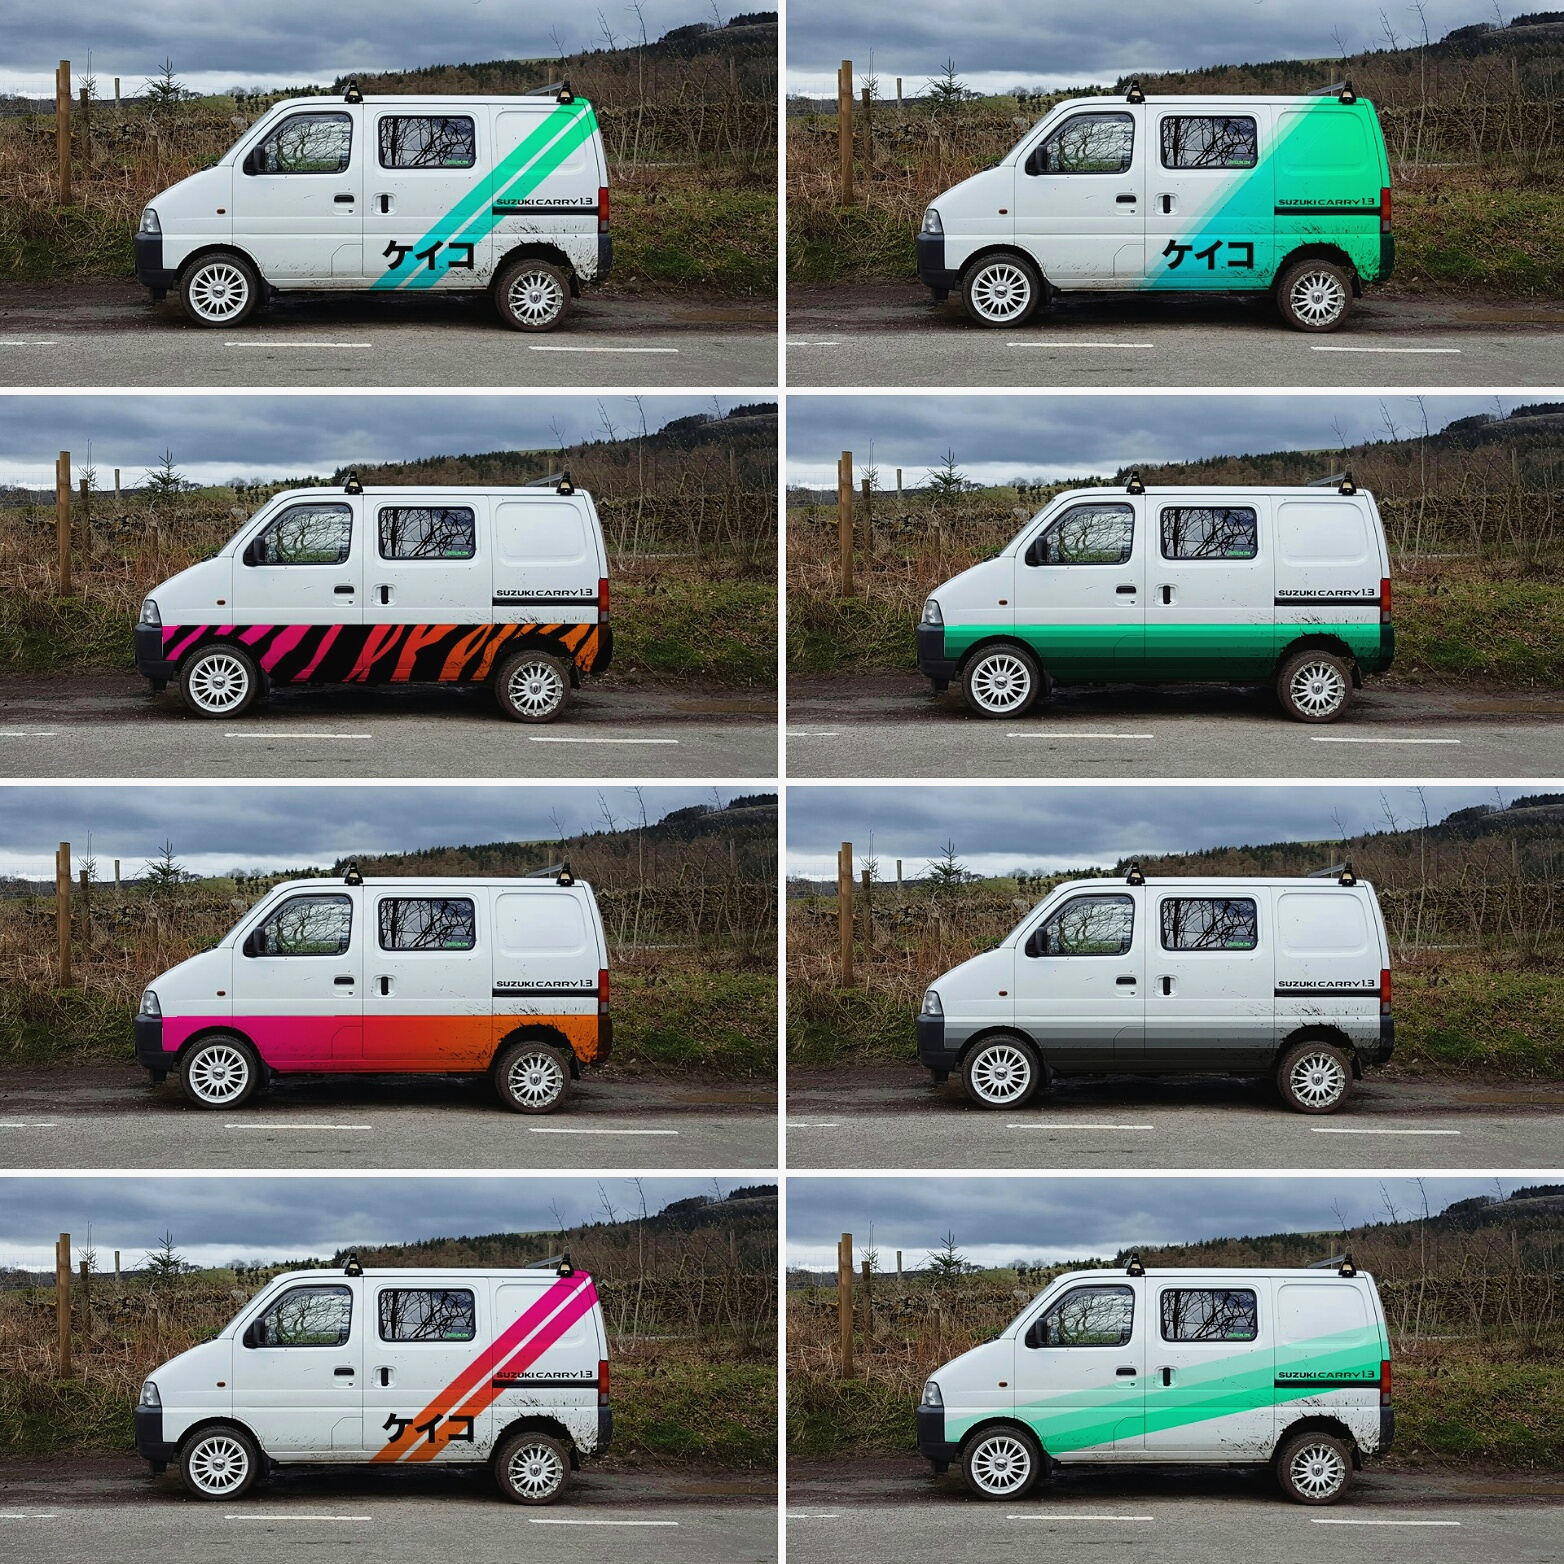
The Japanese characters read “Keiko” which is what I decided to name the van, in honour of the Kei Car: a class of compact vehicle in Japan that the Suzuki Carry falls into.
If you want to keep up to date with the adventures of ケイコ, you can follow this Instagram account I’ve made specifically: instagram.com/keiko.44
I’m also heading around Europe for 5 weeks camping in the van, so there should be a blog about that on here sometime soon too!